Begin with source images that can share one scene
The first decision in a professional photo compositing workflow happens before detailed masking. The subject and background must be capable of sharing the same visual space. Camera height, lens perspective, light direction and the intended scale of the subject should be compared before production begins.
A technically strong portrait can still be a poor match for a chosen environment. A low camera angle placed into a background photographed from eye level creates conflicting horizon lines. Hard side light will also resist a scene built around soft frontal illumination unless the final art direction intentionally supports that contrast.
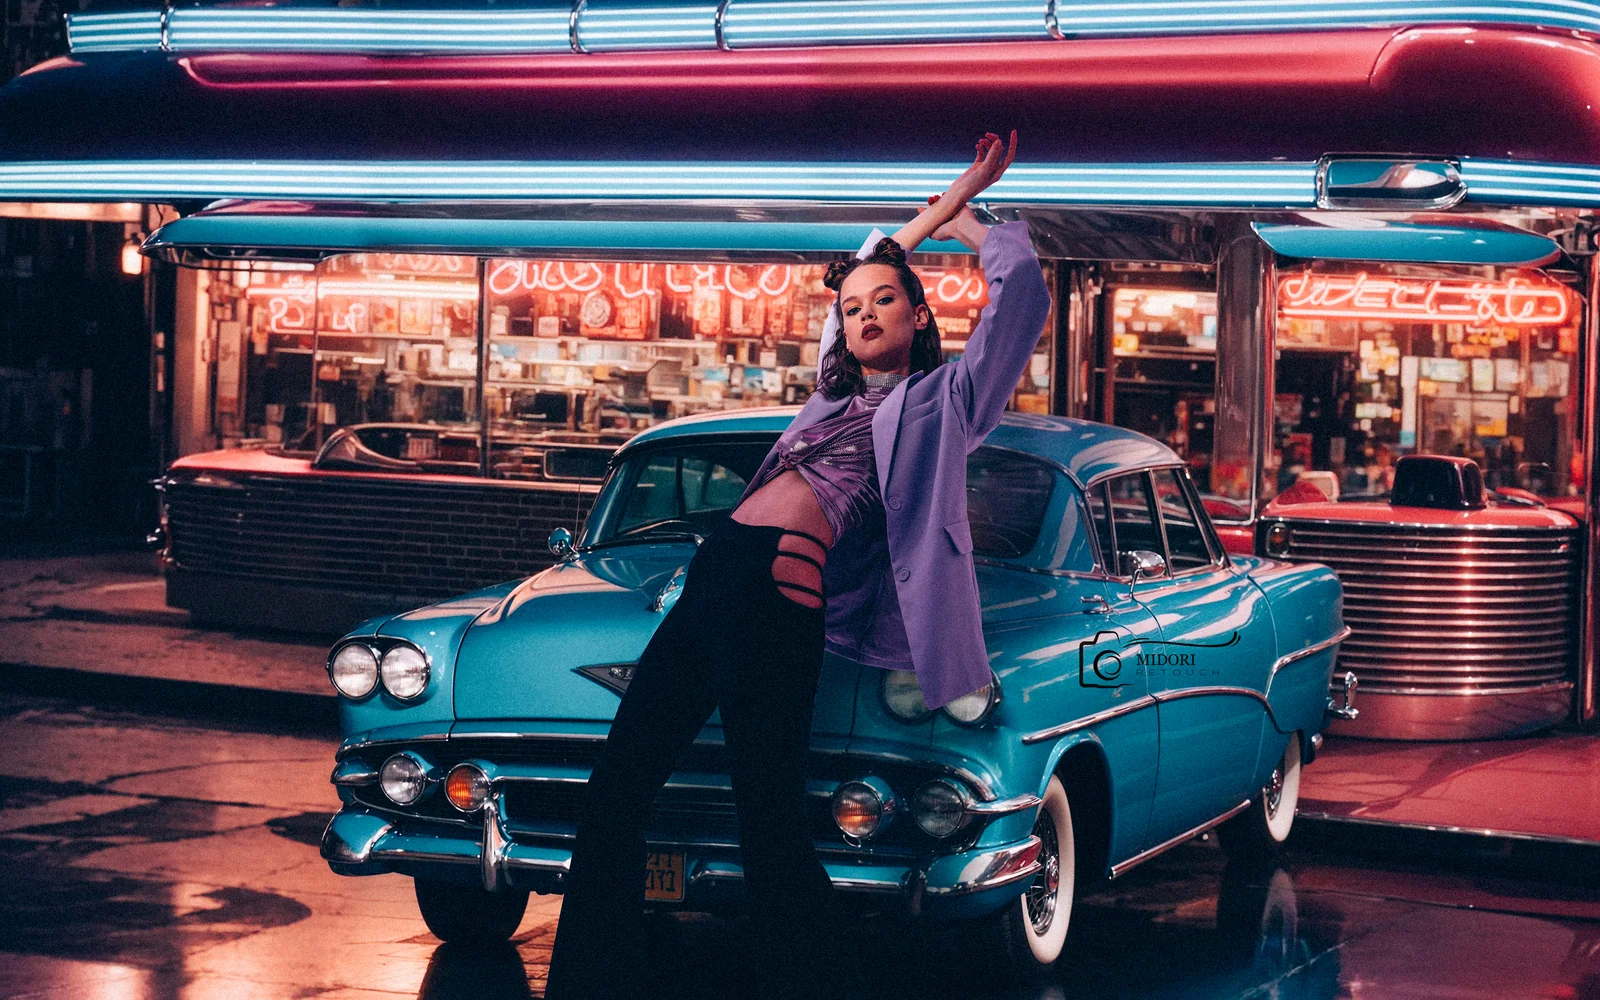
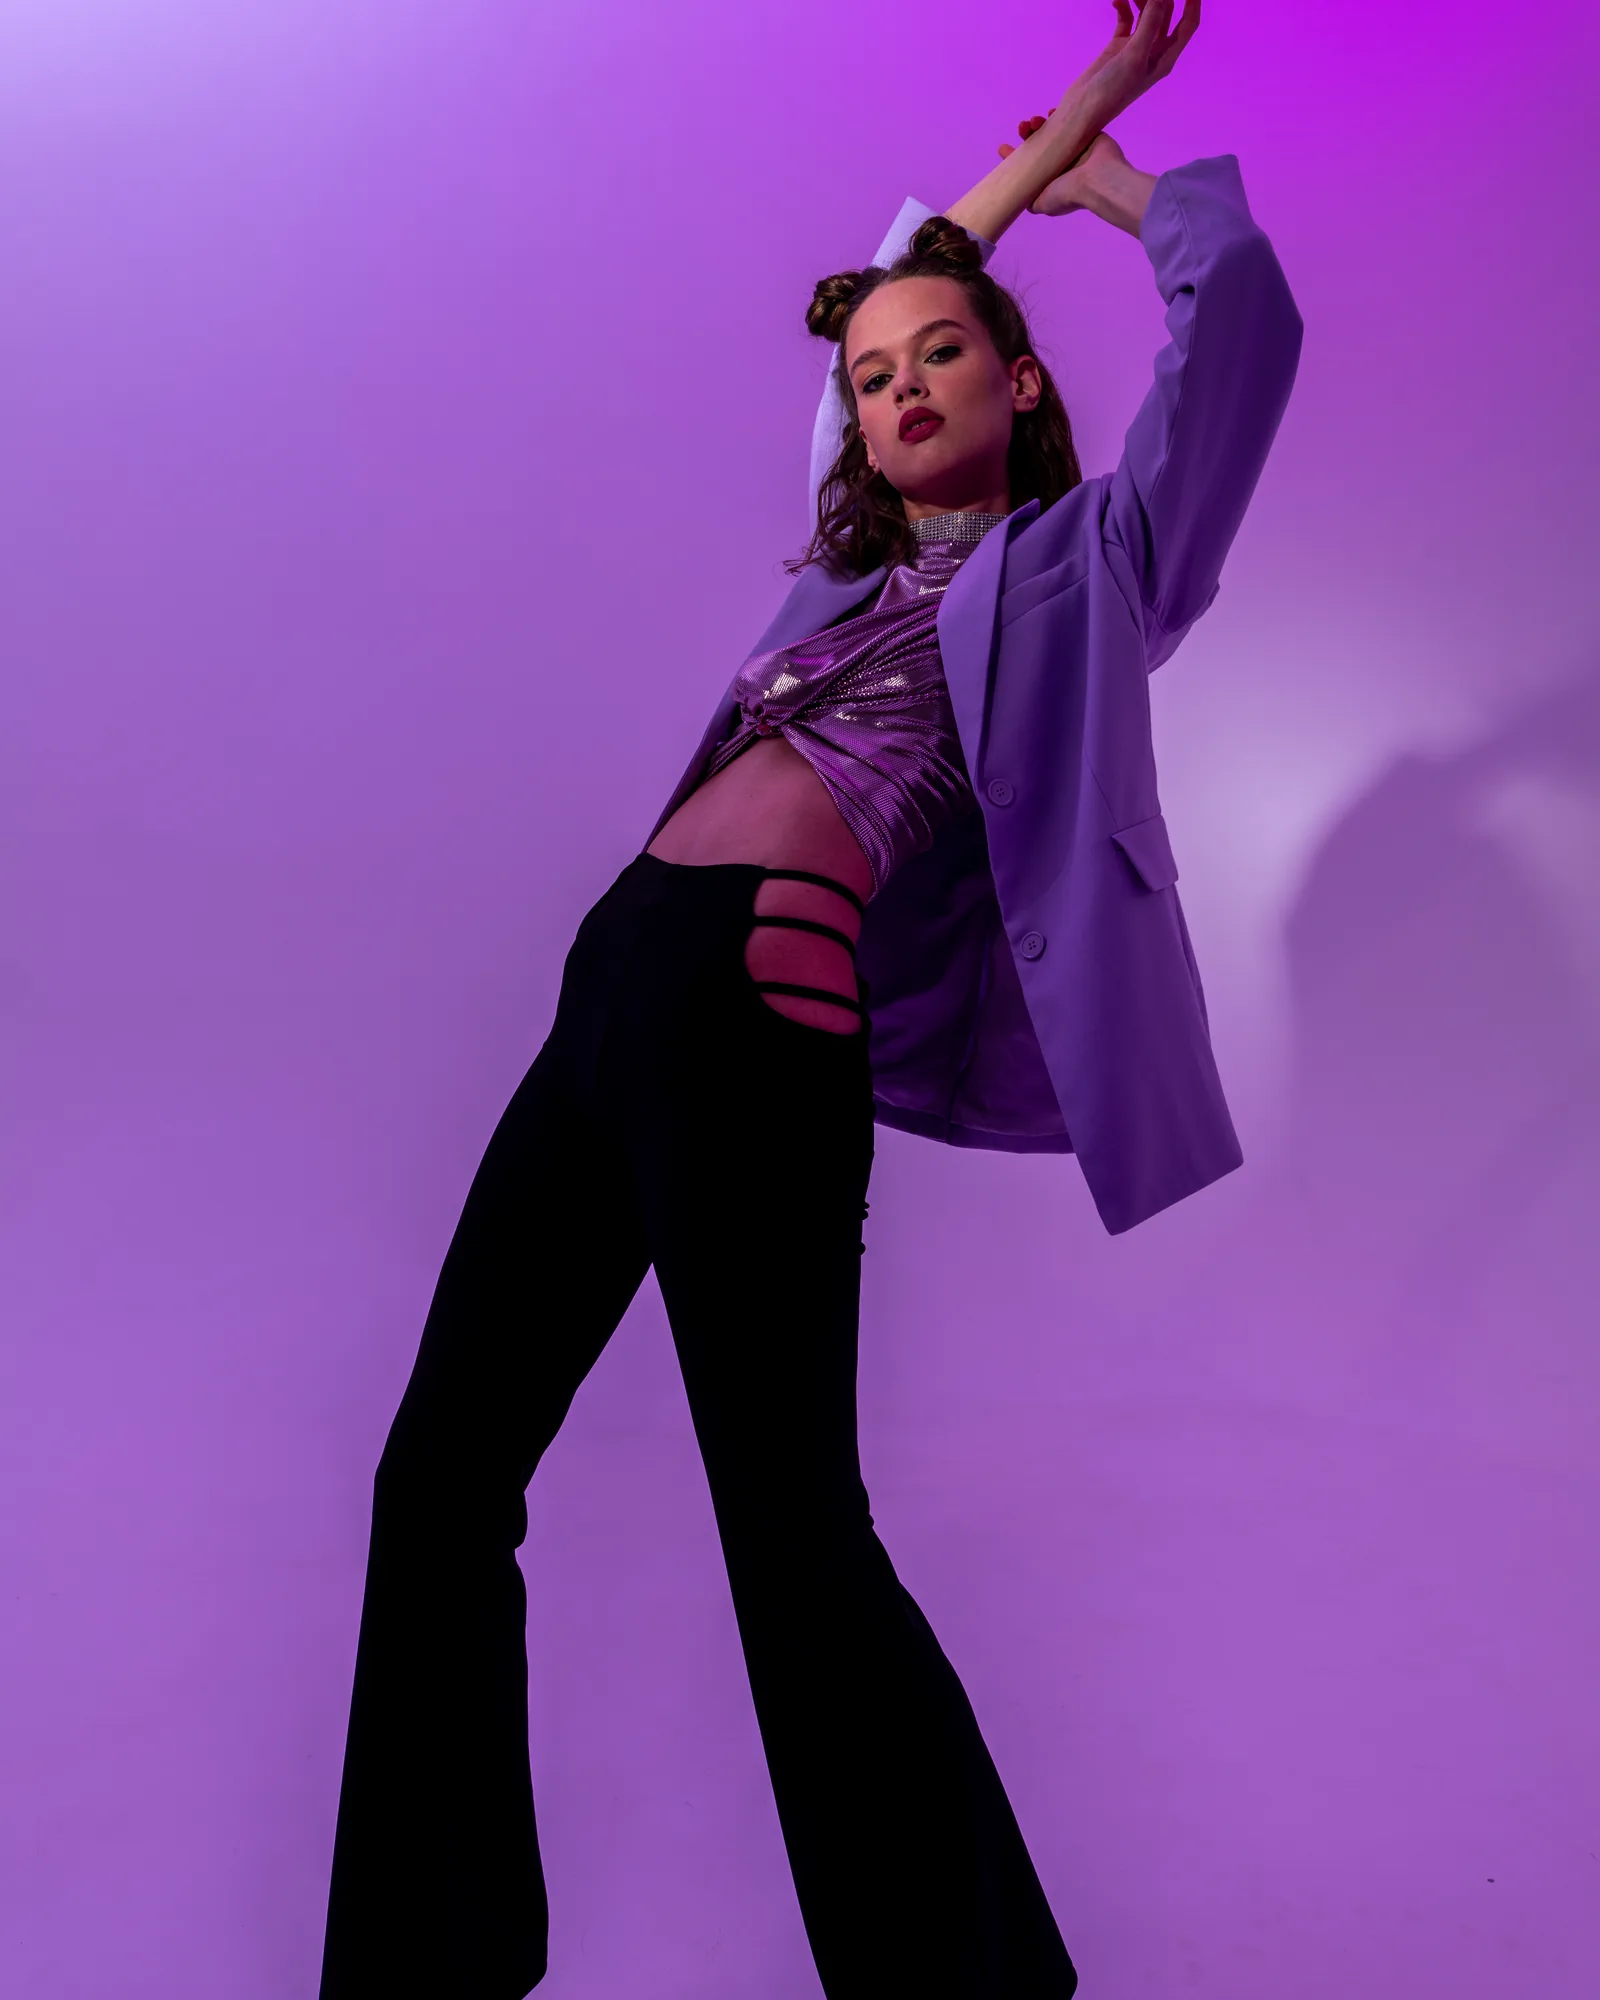
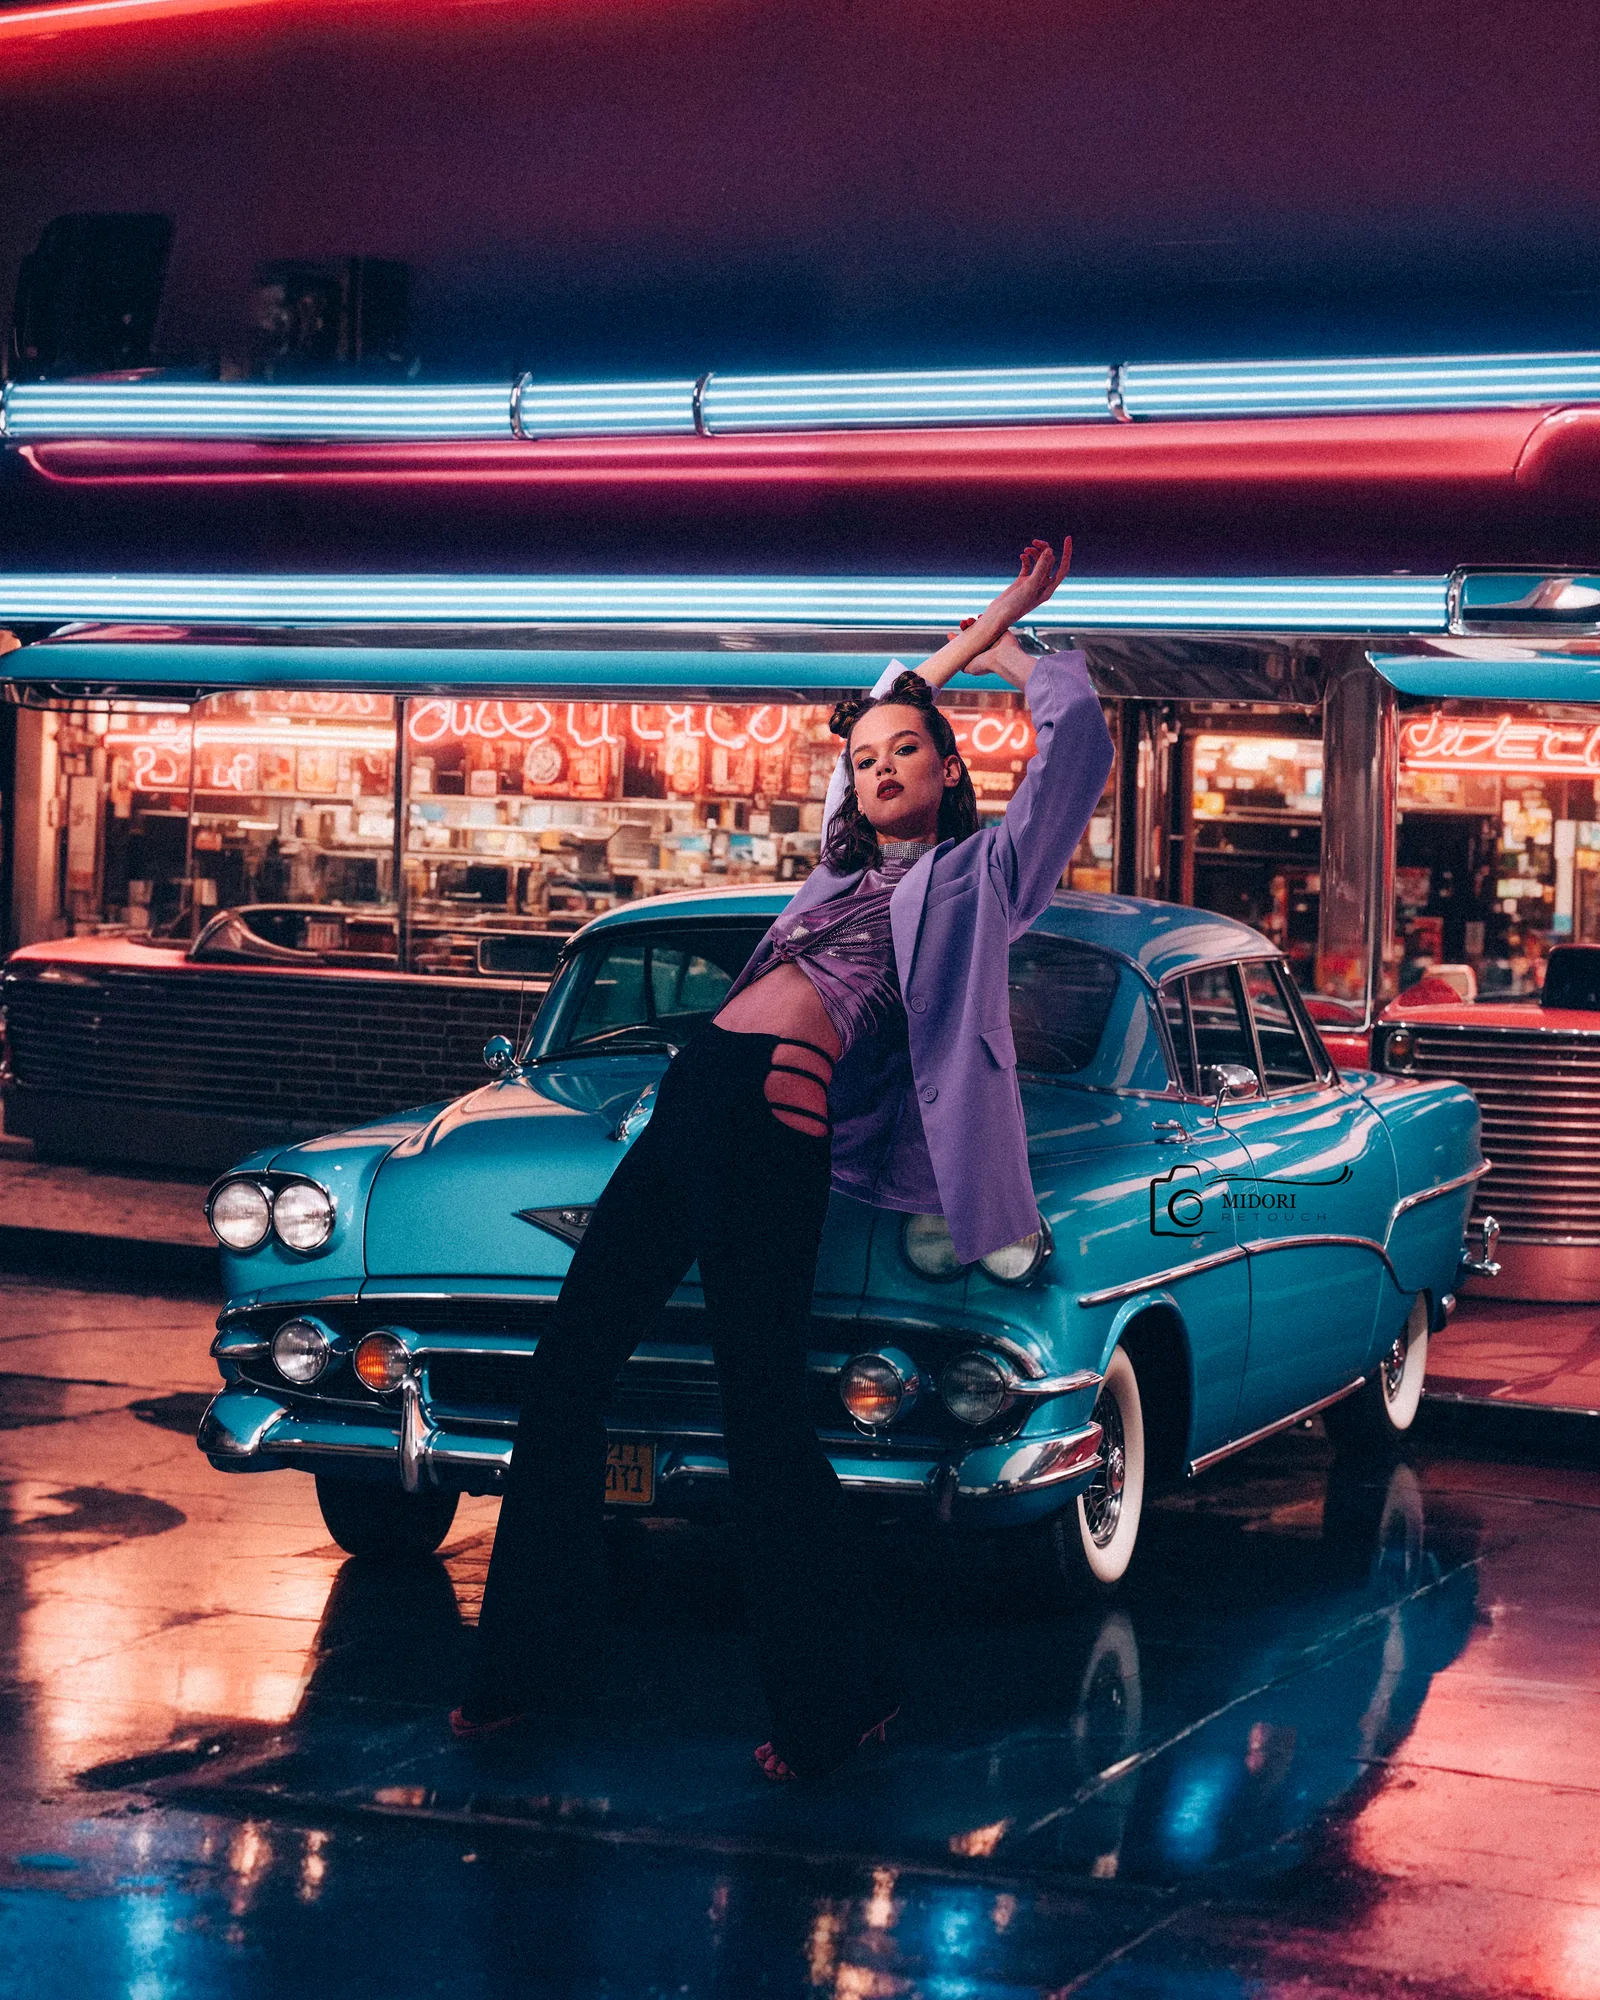
For the fashion example below, the original portrait already contains coloured studio light and a low viewpoint. Those qualities make it a practical foundation for a neon environment. The final scene amplifies the photographed mood rather than attempting to conceal it.
Build a clean mask without making the subject look cut out
Masking establishes the boundary between the photographed subject and the new environment. Hair, soft fabric, motion blur and transparent edges need different treatment from the crisp outline of a jacket or shoe. One universal hard selection usually removes the small transitions that make an edge feel photographic.
The original background colour can contaminate hair and clothing even after the main selection is complete. Edge decontamination should reduce that spill without replacing natural colour variation. Small areas are often rebuilt locally so the final edge remains clean at full resolution but does not become unnaturally sharp.
The mask should also respond to depth. Edges closer to the camera may hold more definition, while distant or moving details need softer transitions. This variation prevents the subject from reading as a flat sticker placed above the environment.
- Separate hard wardrobe edges from hair and translucent details
- Remove background colour spill selectively
- Preserve natural blur and fine edge transitions
- Review the mask at both full size and final delivery size
Match perspective, scale and contact points
Perspective gives every object a position in three-dimensional space. The retoucher compares horizon lines, vertical convergence and the apparent camera distance in each source. Scale is then judged against recognisable elements in the environment rather than adjusted only until the composition feels visually balanced.
Contact points are equally important. Feet, furniture and products need a credible relationship with the surface below them. A contact shadow is usually tighter and darker close to the object, then becomes softer as it travels away. Reflected colour from the floor or nearby objects may also appear along lower edges.
In this composite, the position of the model is established against the car and diner architecture. The placement, crop and surrounding structure create a believable scale before colour grading begins. Solving this geometry early avoids trying to repair an impossible composition with effects later.
Rebuild the lighting relationship
A realistic composite needs one understandable lighting design. The direction and softness of the key light on the subject should relate to practical sources in the environment. Existing highlights can be reshaped with local tonal work, but they should not contradict the form that was captured in camera.
Environmental light is rarely neutral. Neon signs, coloured walls and reflective surfaces cast local colour onto skin and clothing. Introducing these influences selectively helps the subject belong to the scene. The effect should follow planes and materials: skin, satin, matte fabric and metal do not reflect coloured light in the same way.
Shadows complete the relationship. Beyond a contact shadow, the subject may need cast shadows, ambient darkening and subtle occlusion where forms overlap. These additions should respect the direction, intensity and colour of the final scene instead of being painted as one generic black shape.
Unify colour, contrast and texture
Colour grading is most effective after the composition, scale and lighting are stable. The aim is not to apply the same preset to every layer. Each component is first corrected into a workable range, then the relationships between skin, wardrobe, car, architecture and practical lights are shaped toward one palette.
Contrast and atmospheric depth help organise the scene. Important foreground elements can hold stronger local contrast, while distant details may be softened or reduced in saturation. This keeps the background visually rich without competing with the main subject.
Texture is the final test. Different sources often contain different noise, sharpening and lens characteristics. Matching grain and micro-contrast across the finished image removes a common compositing giveaway. Final sharpening should be applied for the actual output size rather than judged only on the master file.
Prepare a composite project for an accurate quote
Composite pricing depends on the source files and the complexity of the requested construction. A simple background replacement is different from rebuilding hair edges, combining several assets, creating shadows and matching multiple light sources. Sending the actual files produces a safer estimate than describing the project only by image count.
Provide the selected hero image, proposed background, any separate props or effects, a rough layout and the required final dimensions. Include information about licensed stock material and whether layered working files are required. If the art direction is still open, reference images can define the intended level of realism and finish.
Midori Studio currently treats composite work as individually scoped, commonly starting around $10–20 per image for suitable source material, with a tailored quote for more complex constructions. The final price and schedule are confirmed only after reviewing the files, usage and revision requirements.
- High-resolution subject and background files
- Rough layout or approved visual reference
- Final dimensions, crop and intended usage
- Stock licensing and delivery requirements
- Deadline and expected review process